The framework, or structure of a fruit tree consists of different parts of different ages. This framework is developed in sequential stages.
Tree structure (cont from last issue)
First, the leaders are established as the primary framework. Then the lateral branches are formed as the secondary framework, followed by the fruiting units as the tertiary framework.
These different structural parts form a hierarchy which enables the tree to direct its energy into producing more fruit and less wood.
If you fail to establish a hierarchical framework in your young trees you will have a fight on your hands, and probably end up with trees that produce mostly wood instead of mostly fruit.
The more vigorous the tree, the more important is the hierarchy of the tree’s framework. But it must all be in balance because pear trees must have good vigour to size their fruit during the last seven weeks of fruit growth.
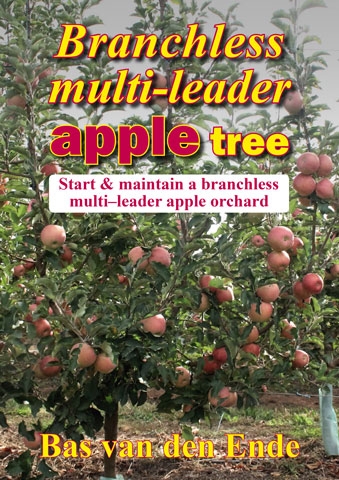
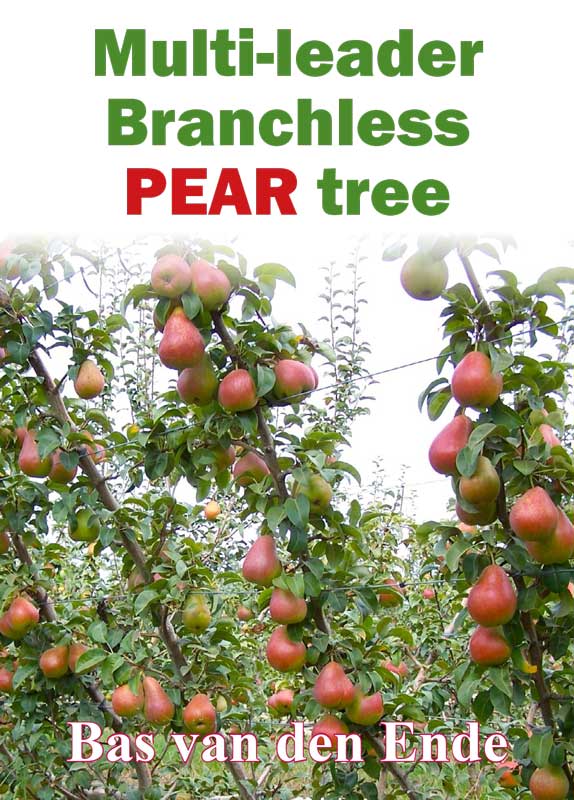
To speed-up the establishment of a simple hierarchical framework in young pear trees, you must avoid developing branches, and go straight to fruiting units—this is the multi-leader branchless tree training system, and is described and illustrated in great detail in the orchard manual, Multi-leader Branchless Pear Tree.
Establish a branchless pear tree with two leaders
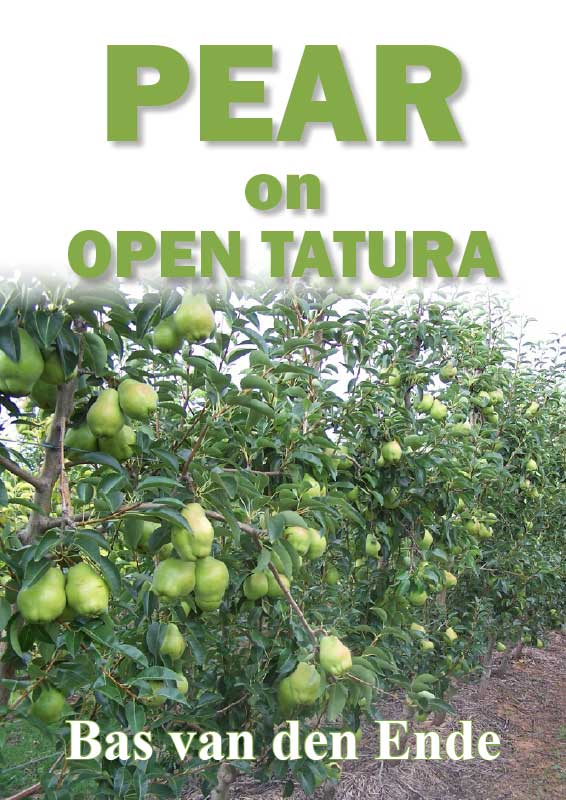
Following are nine steps for the first two years to establish a branchless pear tree with two leaders (bi-axis), either as an upright 2D wall or on Open Tatura.
It is assumed that the soil has been tested and prepared before trees are planted. Suggested planting distance is 4 x 2 m (1250 trees per hectare), with a polliniser tree near every pole (every 12 m).
Polliniser trees do not take the space of trees of the main variety. The trees are supported by a trellis, and drip irrigation has been installed.
First year
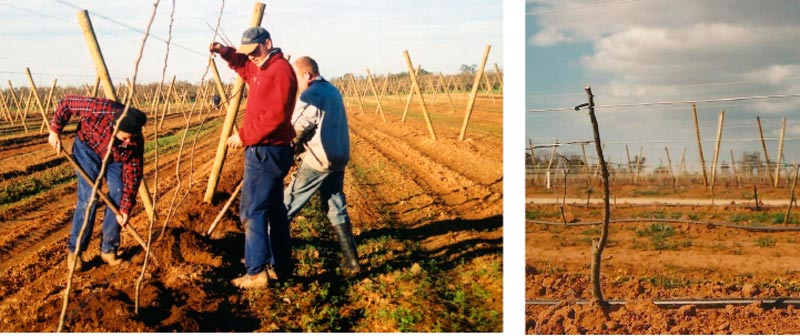
Step 1 Plant trees, preferably as whips or rods, in early winter, or as soon as they arrive from the nursery. (Photo 1).
Grade your nursery trees in groups of small to large. Keep the roots moist—never let them dry out!
Keep the tree sizes together as much as possible for ease of management. Trees do not need to be tall and/or feathered. The ideal tree is a whip about 450 mm above the union, of moderate vigour with a root system that has some fine roots.
Step 2 After planting the trees, tie the trees to the bottom wire with a plastic Fastex tie that fits securely on the 2.65 galvanized high tensile wire. Cut the trees back to about 400 mm (Photo 2).
Step 3 When the new shoots are about 100 to 150 mm long, keep the strong shoot immediately under the cut.
This shoot is referred to as the number 1 shoot and is allowed to extend the leader. But cut or pinch to short three-leaf stubs (about 25 mm), the two or three new shoots that are immediately under the cut.
These shoots are referred to as number 2, 3 and sometimes 4, and are often too upright and not suitable for future leaders. However, they play an important role in the development of the new shoots below them because pinching will check their growth, provide valuable epinastic forces to widen the angles of the new shoots below them, and get more buds to break lower down.
Step 4 (cont next month)
See this article in Tree Fruit June 2021